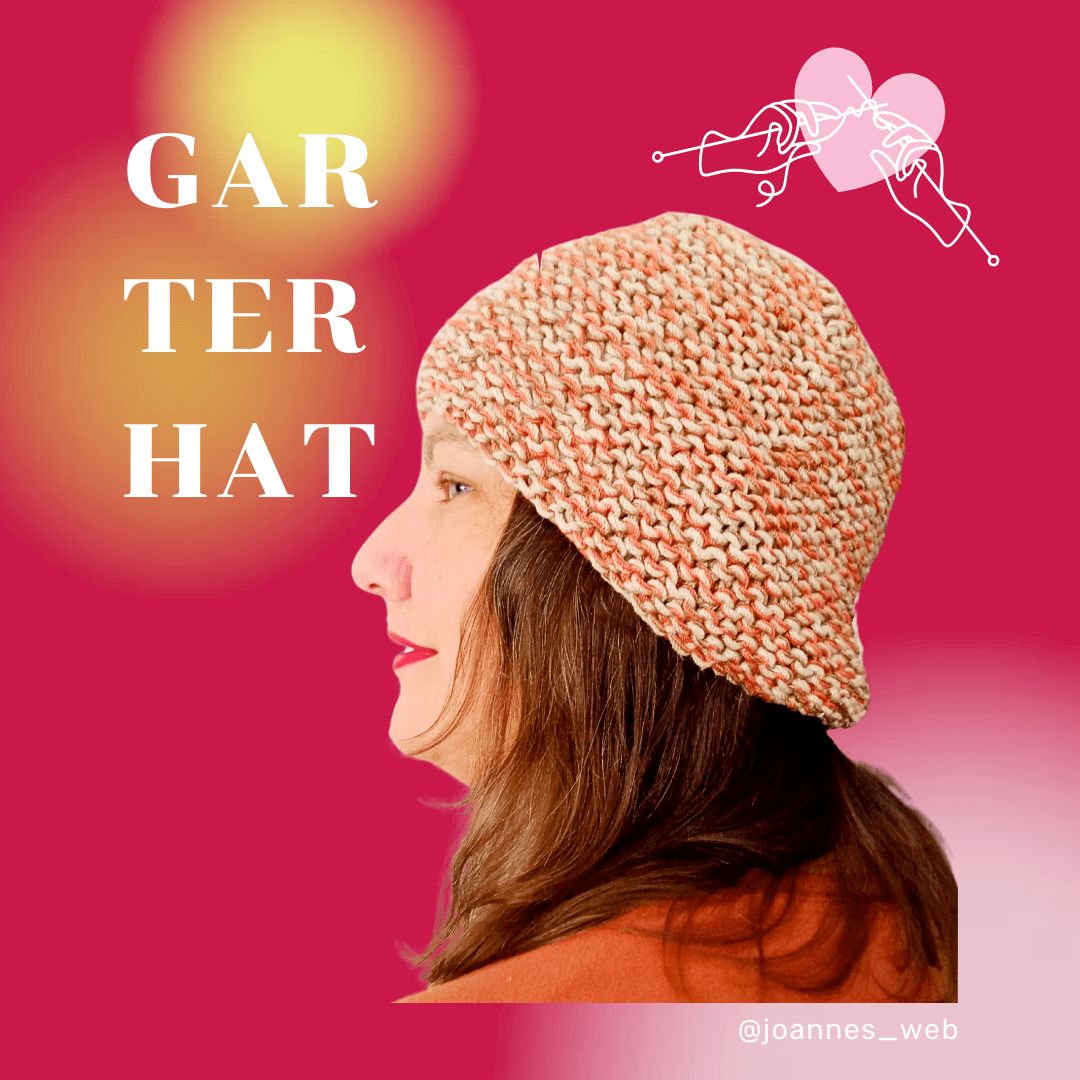
How to Knit a Garter Stitch Hat: A Guide for Beginners
One of the easiest projects you can make is a Grater Stitch Hat, which is made with only knit on every row and very simple decreases.
It will be a super cozy and fun hat that is easy to make with easy-to-find tools and materials!
Guagehelps you determine how many stitches and rows you need for a knitted piece (area) and we all have different gauges because of the tension of our hands.
For this pattern, you’ll need to knit a small swatch to check your gauge.
Gauge: 4” (10 cm) = 12.5 stitches in garter stitch.
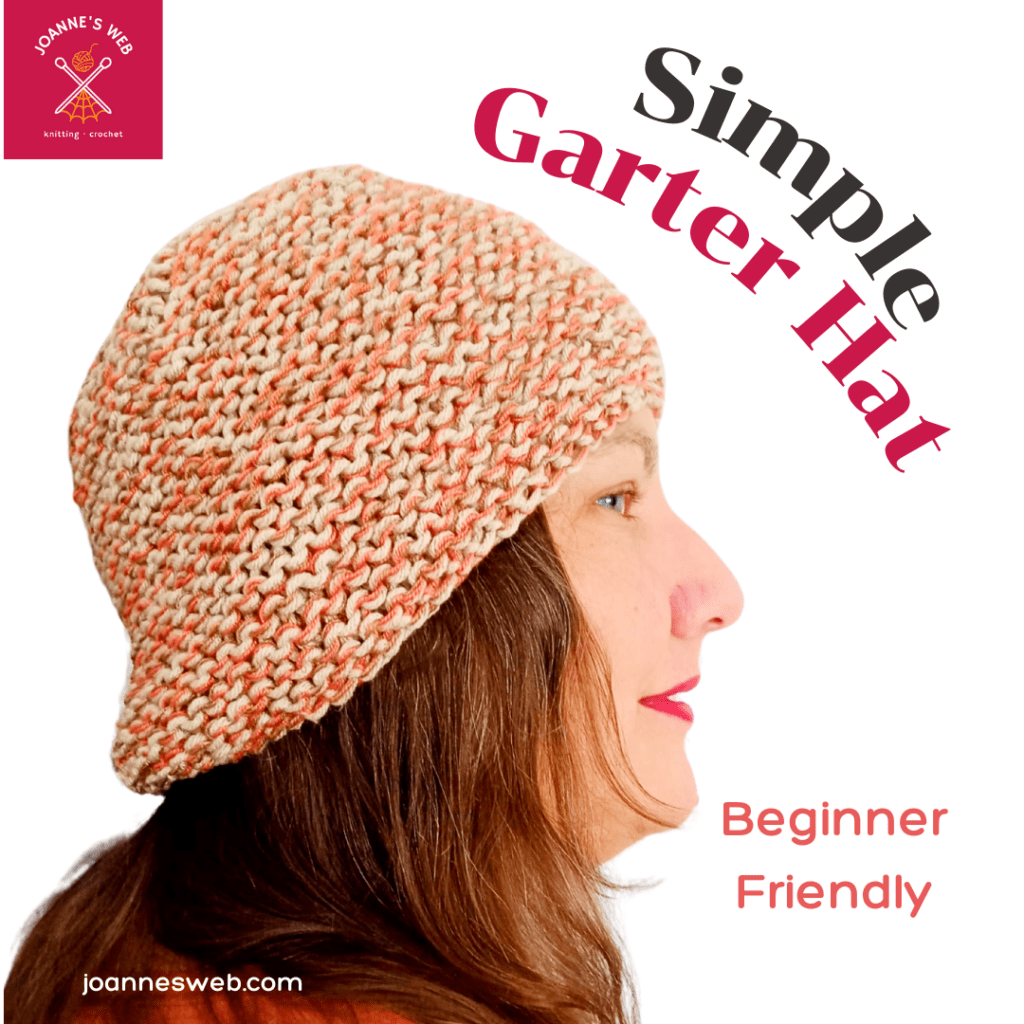
Simple Garter Knit Hat begginer friendly
Instructions for Knitting a Garter Stitch Hat
This hat is worked flat (back and forth) on two needles and later seamed together to form a hat. The beauty of the garter stitch (knitting every row) is that it’s easy and produces a stretchy fabric, making it an ideal stitch for beginners.
1. Casting On
Cast on 66 stitches with the 11 US (8mm) knitting needles.
This will create a hat with a circumference of about 21 inches, which is a medium adult size.
2. Knit the Body of the Hat
Knit every row in garter stitch until your piece measures 5.5 inches (14 cm).
This will form the main body of the hat.
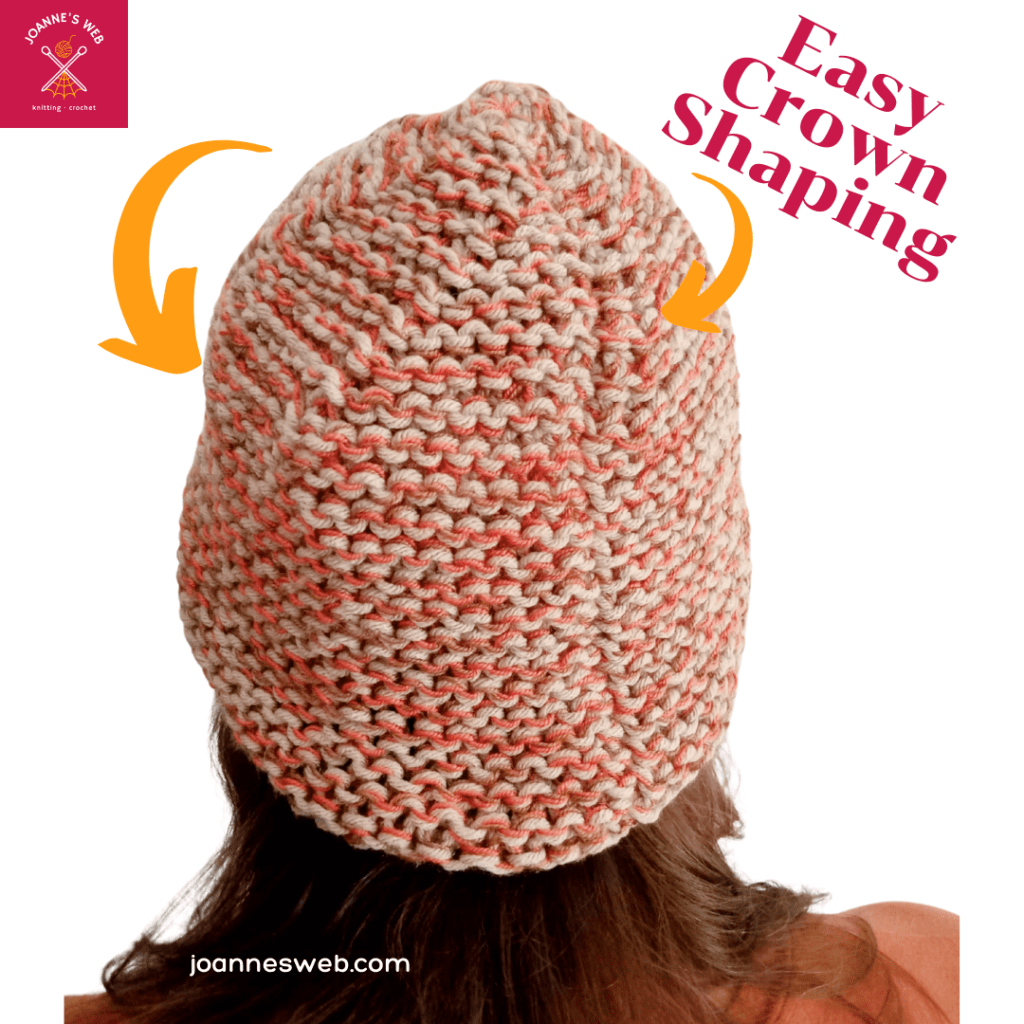
2.Shaping the Crown
After reaching 5.5 inches, it’s time to begin shaping the crown of the hat.
This is done by gradually decreasing the number of stitches.
Mark the Right Side of Your Work
Place a stitch marker on the right side of your work. This helps you keep track of which side is which, especially during the crown shaping section that follows.
Crown Decrease Pattern
For the crown, you will be decreasing on odd-numbered rows and knitting all stitches on even-numbered rows. Remember that odd-numbered rows are the right side.
Row 1 (Right Side): Knit 9 stitches, knit 2 together, pass marker. Repeat until the last 2 stitches, knit together. You’ll now have 60 stitches.
Row 2: Knit all 60 stitches.
Row 3: Knit 8 stitches, knit 2 together, pass marker. Repeat to the end. Last 2 stitches, knit together. You’ll now have 54 stitches.
Row 4: Knit all 54 stitches.
Row 5: Knit 7 stitches, knit 2 together, pass marker. Repeat to the end. Last 2 stitches, knit together. You’ll now have 48 stitches.
Row 6: Knit all 48 stitches.
Row 7: Knit 6 stitches, knit 2 together, pass marker. Repeat to the end. Last 2 stitches, knit together. You’ll now have 42 stitches.
Row 8: Knit all 42 stitches.
Row 9: Knit 5 stitches, knit 2 together, pass marker. Repeat to the end. Last 2 stitches, knit together. You’ll now have 36 stitches.
Row 10: Knit all 36 stitches.
Row 11: Knit 4 stitches, knit 2 together, pass marker. Repeat to the end. Last 2 stitches, knit together. You’ll now have 30 stitches.
Row 12: Knit all 30 stitches.
Row 13: Knit 3 stitches, knit 2 together, pass marker. Repeat to the end. Last 2 stitches, knit together. You’ll now have 24 stitches.
Row 14: Knit all 24 stitches.
Row 15: Knit 2 stitches, knit 2 together, pass marker. Repeat to the end. Last 2 stitches, knit together. You’ll now have 18 stitches.
Row 16: Knit all 18 stitches.
Row 17: Knit 1 stitch, knit 2 together, pass marker. Repeat to the end. Last 2 stitches, knit together. You’ll now have 12 stitches.
Row 18: Knit all 12 stitches.
Hat Knitting For Beginners
3. Finishing the Crown
Cut the yarn, leaving a long tail (around 10-12 inches).
Using a tapestry needle, thread the tail through the remaining 12 stitches. Pull tight to close the top of the hat.
4. Finishing the Hat
Once you’ve finished the crown, it’s time to finish up the hat by sewing it together and weaving in any loose ends.
5. Sewing the Seam
Fold the hat so the two sides meet, with the wrong side facing out.
Using the long tail of yarn, sew up the side of the hat using a mattress stitch or whip stitch. This will close the hat and form a tube-like shape.
6. Weaving in the Ends
After sewing the seam, use your tapestry needle to weave in any loose ends on the inside of the hat. Trim any excess yarn.
Optional: Adding a Pom-Pom
For a fun finishing touch, add a pom-pom to the top of your hat. You can make one using leftover yarnor purchase a pre-made one.
Just attach the pom-pom securely to the top of the hat by sewing it in place with yarn or thread.
This was a fun project to work with, right? Easy. We have many more beginner projects for you, just check out the links below:
We use cookies on our website to give you the most relevant experience by remembering your preferences and repeat visits. By clicking “Accept”, you consent to the use of ALL the cookies.
This website uses cookies to improve your experience while you navigate through the website. Out of these cookies, the cookies that are categorized as necessary are stored on your browser as they are essential for the working of basic functionalities of the website. We also use third-party cookies that help us analyze and understand how you use this website. These cookies will be stored in your browser only with your consent. You also have the option to opt-out of these cookies. But opting out of some of these cookies may have an effect on your browsing experience.
Necessary cookies are absolutely essential for the website to function properly. This category only includes cookies that ensures basic functionalities and security features of the website. These cookies do not store any personal information.
Any cookies that may not be particularly necessary for the website to function and is used specifically to collect user personal data via analytics, ads, other embedded contents are termed as non-necessary cookies. It is mandatory to procure user consent prior to running these cookies on your website.