Learn To Knit A Blanket for Beginners From Start To Finish
Knitting a blanket is one of the most rewarding projects for beginners. It’s practical and cozy, and it’s a perfect way to practice basic knitting patterns.
If you’ve ever wanted to wrap yourself (or a loved one) in a creation made with your own hands, a blanket project is the way to go.
In this blog post, we’ll cover everything you need to know about knitting a beautiful blanket for beginners. From choosing materials to step-by-step instructions, this comprehensive guide will help you complete it!
Why Knit a Blanket?
Blankets are beginner-friendly projects because they require basic stitches and allow you to experiment with stitch patterns without worrying about shaping or intricate patterns. Here’s why they’re a great project for new knitters:
Relaxing: Knitting repetitive rows is meditative and perfect for unwinding.
Functional: You’ll end up with a cozy, practical item for your home.
Customizable: Blankets can be as simple or as complex as you want, with endless possibilities for color blocks and textured blankets.
Step 1: Gather Your Supplies

How To Knit A Blanket
Before you start, make sure you have everything you need:
1. Yarn
For beginners, opt for a medium-weight ball of yarn (labeled as #4 or worsted weight). Look for a soft, easy-to-work-with yarn like acrylic or wool blends. These are affordable, durable, and forgiving if you make mistakes.
How much yarn? For a throw-sized blanket (approx. 50″ x 60″), you’ll need about 1,200–1,500 yards of yarn. (about 10 skeins of yarn or 10 balls of yarn).
2. Knitting Needles
Choose large needles for your blanket to make the process faster and give the fabric a nice drape. Size US 10-13 (6-9mm) circular needles are ideal. Circular knitting needles are especially helpful for holding a large number of stitches. Make sure your circular knitting needles have a very long cable to hold the stitches in. 1 meter (100 cm is best.
3. Additional Supplies
Scissors: For trimming yarn.
Tapestry Needle or sewing needle: For weaving in ends.
Measuring Tape: To check your progress.
Stitch Markers (optional): To help keep track of sections or pattern repeats.
Step 2: Plan Your Blanket

Blanket Knitting Basics
Decide on Size
Blankets come in various sizes. Here’s a general guide:
Baby Blanket: 30″ x 40″ (76 x 102 cm)
Throw Blanket: 50″ x 60″ (127 x 152 cm)
Twin Bed Blanket: 66″ x 90″ (168x 229 cm)
Choose a size that suits your needs, but keep in mind that larger blankets require more time and materials.
Choose Your Pattern
For your first blanket, stick to a simple pattern like the garter stitch (knit every row). This creates a squishy, textured fabric that lies flat without curling.
You can also play with different stitch patterns to create a blanket pattern full of fun texture. For example: a few rows of garter and a few rows of straight stitch alternated.
Step 3: Knit a Gauge Swatch

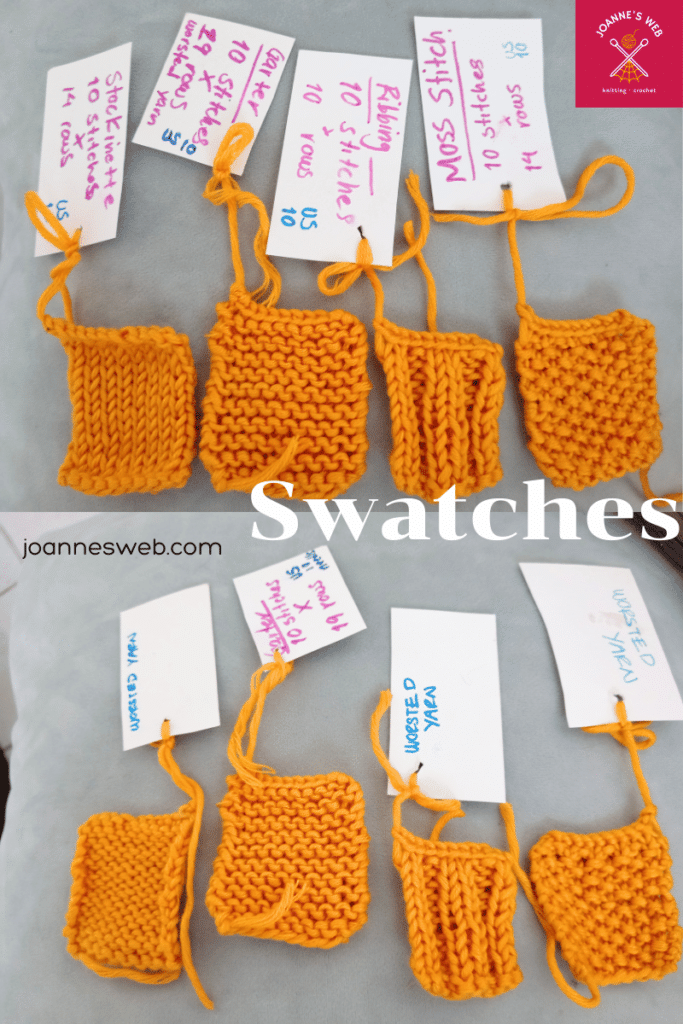
These are all small swatches to show you how different stitches create different fabrics.
A gauge swatch ensures your blanket turns out the correct size. It’s also a great opportunity to practice.
What is gauge? Gauge refers to the number of stitches and rows in a 4-inch square (10 cm). It’s often listed on your yarn label.
How to knit a swatch:
Cast on 20 stitches.
Knit for 4 inches.
Measure the number of stitches and rows in your swatch.
If your gauge doesn’t match the pattern or desired size, adjust by switching to larger or smaller needles.
Here’s a handy tutorial about knitting gauge.
Step 4: Cast On Stitches
To start your blanket, cast on the required number of stitches based on your gauge and desired width. For example, if your gauge is 4 stitches per inch and you want a 40-inch-wide blanket, cast on 160 stitches.
Use the long-tail cast-on method for a neat and stretchy edge. Here’s a video for that. But make sure to leave a long enough tail. For that, there is
THIS HACK.
But there are other cast-on methods too.
Step 5: Begin Knitting
For a beginner-friendly blanket, stick to garter stitch:
Knit every row. This means there’s no need to switch between knit and purl stitches, making it easier to develop rhythm.
Keep knitting until your blanket reaches the desired length.
Tips for Knitting
Relax your grip: Avoid pulling the yarn too tightly to keep your stitches even.
Take breaks: Knitting a blanket is a long-term project, so pace yourself to avoid hand fatigue.
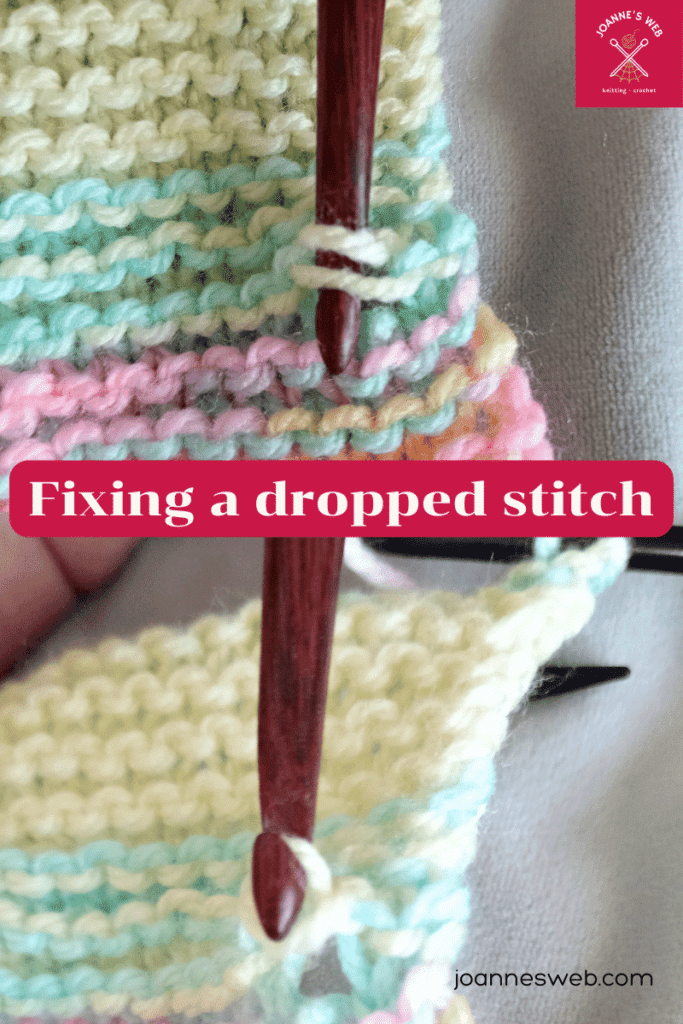
Count your stitches: Check periodically to ensure you haven’t accidentally added or dropped stitches.
Step 6: Finishing Your Blanket

Knitting Increase with Markers
Once your blanket reaches the desired length, it’s time to bind off.
Bind Off:
-
Knit two stitches.
-
Use the left needle to lift the first stitch over the second and off the needle.
-
Knit one more stitch and repeat until all stitches are bound off.
Here’s a video of this classic Bind-Off Method
Weave in Ends:
Use a tapestry needle to weave the yarn tails into the fabric. This secures them and hides them from view.
Block Your Blanket (Optional):
Blocking helps even out stitches and gives your blanket a polished look. To block, dampen the blanket, lay it flat on a towel, and reshape it to the correct dimensions. Let it air dry completely.
Beginner-Friendly Variations

Beginner Friendly Blanket
Once you’ve mastered the basics, you can try these simple variations:
1. Striped Blanket
Use multiple colors of yarn to add stripes. Switch yarn colors at the beginning of a new row. Or switch it every few rows.
2. Chunky Yarn Blanket
Use super bulky yarn and large needles (US 15-17) for a quick, cozy blanket with a trendy look. Make sure you get enough bulky-weight yarn to make a whole blanket.
Chenille Yarn is also a very nice choice for a thicker blanket.
3. Ribbed Blanket
Incorporate a basic ribbing pattern, such as K2, P2 (knit two stitches, purl two stitches), for added texture.
4. Seed Stitch Blanket
Alternate knit and purl stitches across rows to create a beautiful, nubby texture.
Seed Stitch and Ribbing tutorial links here.
Common Questions About Knitting a Blanket

Fixing dropped stitches


0 Comments