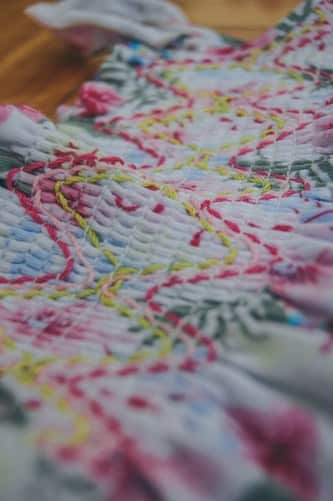
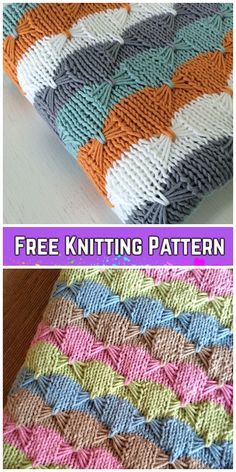
The beautiful butterfly stitch makes a statement but is a relatively simple stitch to learn. The butterfly is formed by gathering the slipped stitches together forming the “wings”, with the gathering stitch creating the body.
A little history on Smocking.

“Embroidery Smocking”
This vintage stitch has also been referred to as the “smocking stitch” as it resembles the embroidery technique “smocking” that dates all the way back to 1175 BC! Smocking was used as a way to gather fabric so it would stretch. It worked especially well for when buttons weren’t available or desirable and back in the eighteenth and nineteenth centuries, was mostly used by laborers and was even considered a status symbol.
Project Suggestions
We love the idea of using the butterfly stitch as a pillow cover, scarf or a sweet baby blanket. It’s a great way to add a bit of texture to your project without adding too much bulk or intricate design.
Project Ideas

Blanket
We love the idea of using the butterfly stitch as a baby blanket. It has a cozy look to it that would add a nice touch to any nursery. If you look closely, the colors used blend nicely together, with the “body” of the butterfly being the color of the next row. You could do each row in a different color, or all one single color for a more neutral look. Either way, it would look beautiful because the texture is just the sweetest.

Pillow Cover
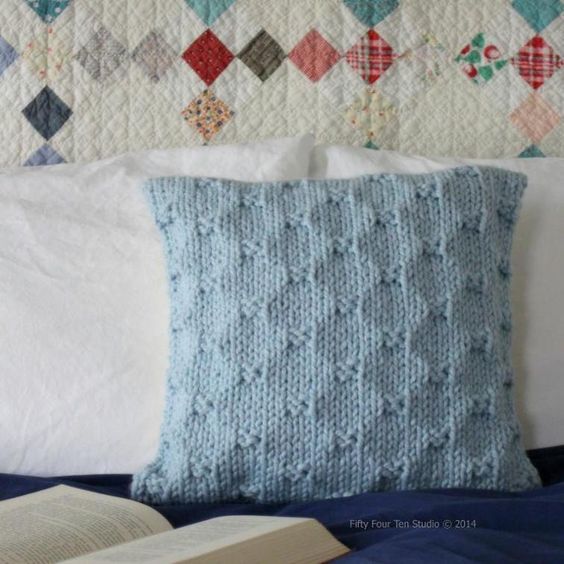
This pillow is super similar to what a throw pillow in the butterfly stitch would look like.
Pillow covers are a great way to start practicing a new stitch because they don’t require any row lengthening or narrowing. You simply need to measure the size of your pillow form, cast on the same length and cast off when you’ve reached the desired size.
Then make an identical rectangular or square shape for the back, and use a joining stitch such as the basting stitch to put it all together!

Are you looking for more textured stitches for pillowcase covers? Try out the waffle stitch, knitting cocoons, or the bubble stitch tutorials! Go ahead and fill your couch with one of each!
We won’t judge. 🙂

Knitcrate is a great way to try out new yarns and other premium products. Get your box delivered on your schedule, right to your door.
Instructions for the Butterfly Stitch
Materials
Worsted yarn
Size #8
Abbreviations
Multiple of 10 + 9
K=Knit
wyif= With yarn in front
Instructions
1.- K2, *slide 5 wyif, k5* end with slide 5 wyif, k2.
2.- Purl
3.- Same as row #1
4.- Purl
5.- Same as row #1
6.- Purl
7.- Same as row #1
8.- Purl
9.- K4, pick up the 4 strands of yarn from bottom to top with your right needle and knit the next stitch.
10.- Purl Repeat same pattern but counting as follows:
11.-K7, *slide 5 wyif, k5* end with slide 5 wyif, k7.
12.- Purl
13.- Same as #11
14.- Purl
15.- Same as #11
16.- Purl
17.- Same as #11
18.- Purl
19.- K9, pick up the 4 strands of yarn from the bottom to top with your right needle and knit the next stitch.
20.- Purl
Disclosure: this video and description contain affiliate links 🙂 Thanks for your support!


0 Comments