(Video and written instructions can be found below)
A good knitter is always looking for a new and interesting stitch to add to their repertoire. It feels like everytime we master a certain stitch, we come across a new one and get inspired to start something new!
The roly poly, or worm stitch is one of our absolute favorites! The texture is bubbly and fun and just can’t be beat. We love it for hats, mittens and scarves. It would also make an incredibly sweet sweater for a child. While this stitch tends to lie on the more advanced scale, once you master this, you’ll probably want to include it somewhere in every project afterwards.
:Project Ideas
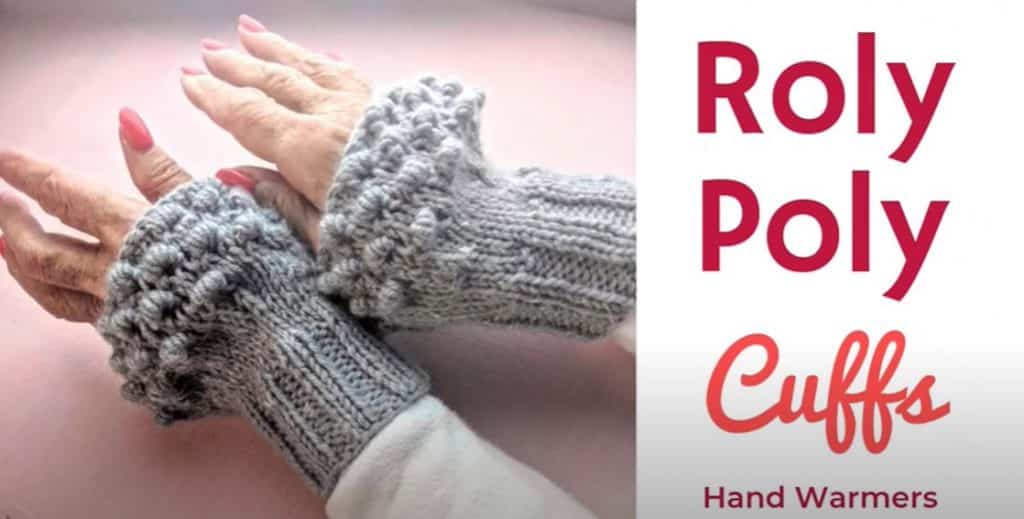
Looking for an idea for how to incorporate this unique stitch? Try this hand warmer tutorial! We love how the roly poly stitch looks on the tops combined with the ribbed stitches below. You could even try using multiple colors on this one.
For example, using a burnt sienna for the tops of the cuff and a deep forest green for the ribbing for a nice fall-inspired warmer. Make a set for the whole family in their favorite colors! Or for more cuff-inspired patterns, check out this cuff playlist.
Pot Holder
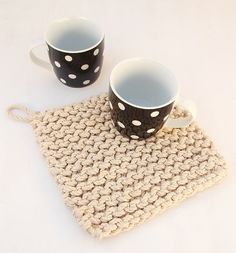
The roly poly stitch would make a fantastic pot holder. Thanks to its thick and bubbly-like appearance, it would make a stylish and efficient heat repellent. Hang a few on your oven or make some for a friend. Using 100% cotton yarn would be beneficial for this type of project so that your pot holder will wash easily.
The roly poly stitch isn’t the only interesting stitch out there. If you’re still looking for more, try our textured stitch playlist. Some of the stitches we love are the Wasp Nest Stitch, the Baby Buds Stitch and the Broomstick Lace Stitch.
If the yarn aisle is leaving you overwhelmed, leave the choosing to someone else! Knitcrate is a great way to get premium yarn, patterns and bonuses delivered on a customized schedule that fits your needs.
Instructions for the Roly Poly Stitch

MATERIALS:
For this stitch, we used Red Heart yarn in mint, but you can use any yarn of your choosing, just be sure to use the needles the yarn calls for (typically printed on the label).
ABBREVIATIONS: (see explanations of commonly confused knitting abbreviations here.)
– K=knit
– P=purl
– Repeat from * to *
– RS= right side
– WS= wrong side
INSTRUCTIONS:
Remember, you need to work this pattern in multiples of four
Cast on your desired number of stitches
# rows as your base:
K 1row RS
P 1row
WS K 1 row RS
Row 1.- WS.- k1 for edge, *k1 with 8 wraps around the 2 needles, k1, p2*. end with a k1 with wraps, k1 and k1 for edge
Row 2.- RS.- Knit the whole row
Repeat these 2 rows until desired length
End work with: P 1row WS K 1row RS
Bind off purlwise
Now try using your new skill in a new project!
Disclosure: this video and description contain affiliate links 🙂 Thanks for your support!

0 Comments